How to get more vitamin D from your Shiitake mushroom harvest


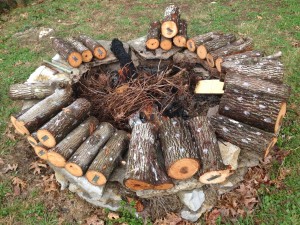
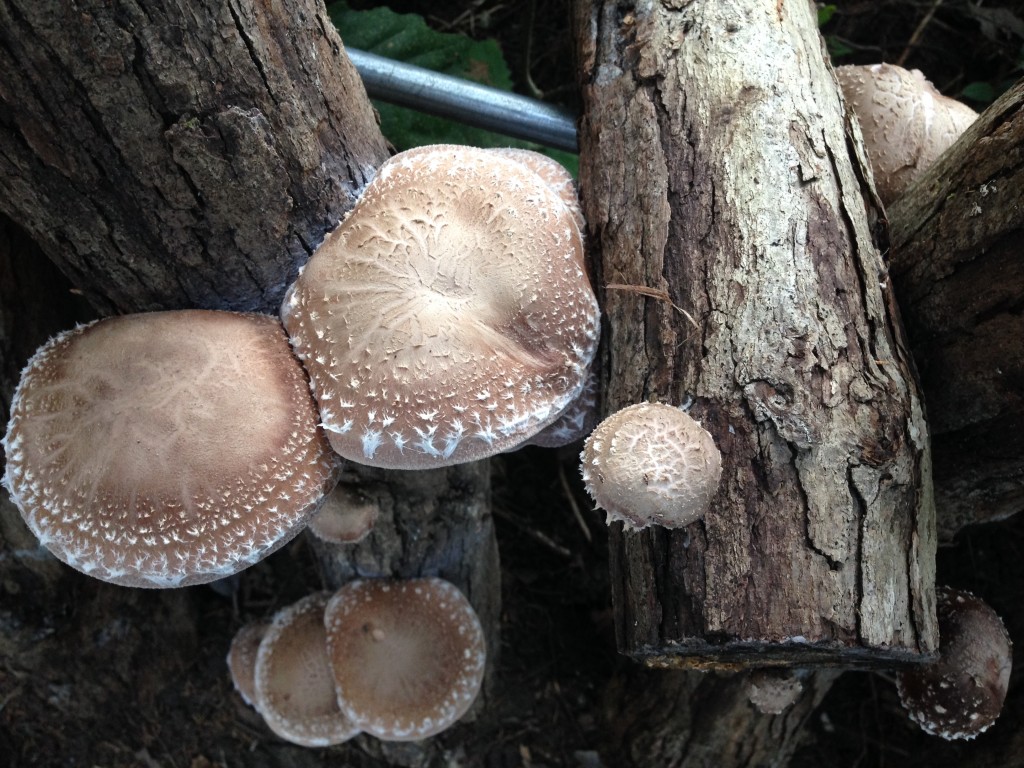
Shiitake mushrooms growing on oak logs at Half Hill Farm in Woodbury, TN

If you purchased a Shiitake mushroom log from Half Hill Farm that is tagged “F14,” now is the time to follow your soaking / shocking steps to get your first edible mushrooms within a week.

Once your Shiitake mushroom log starts producing mushrooms, there’s a simple technique that dramatically increases their vitamin D before you either eat them or dehydrate them for long term storage.
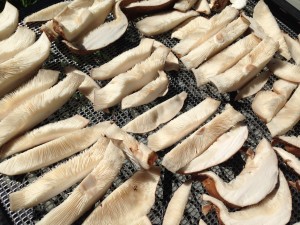
Mycologist Paul Stamets details this simple process and science here, but the basic steps are pretty simple:

  1. Remove stems and slice into roughly half inch slices.
  2. Spread slices evenly on drying racks (anything that allows air flow) in the sunshine with the gills facing up for 6 peak hours avoiding early morning dew and evening moisture.
  3. Bring the mushrooms indoors overnight to avoid humidity, then repeat 6 hours of sun exposure the next day to achieve 12 total peak hours of UV exposure.
  4. Finish completely drying your Shiitake mushrooms in a dehydrator, and store them in sealed jars. To enjoy anytime, simply soak them for an hour and follow most any recipe for fresh mushrooms.

According to Stamets, Shiitake mushrooms that are not exposed to sun may have less than 40 IU/100g of vitamin D. With the steps above, you can expect 46,000 IU/100g of vitamin D, D2, D3, and D4!

To achieve healthy serum levels of vitamin D exclusively from your dried Shiitake mushrooms, you will need to eat no more than 10 grams a day which is roughly equivalent to 100 grams of fresh Shiitake (3.6 ounces).

Purchase your own mushroom log: Our one foot Shiitake mushroom logs are available for scheduled pick up on our farm in Woodbury, TN. They are $22 and will produce 15-20 lbs. of mushrooms over a 3-5 year period. Here is how to get yours.

Make your own mushroom log: Schedule your own private 2-3 hour mushroom log workshop for groups of up to four people on our farm, take home the log you make, and start turning your own logs into a sustainable food source. Here’s how to schedule your workshop.

DISCLAIMER: I am a farmer. I am not a doctor. Please consult your physician before using any of our products or advice for health purposes.

Grow your own mushrooms with our inoculated logs

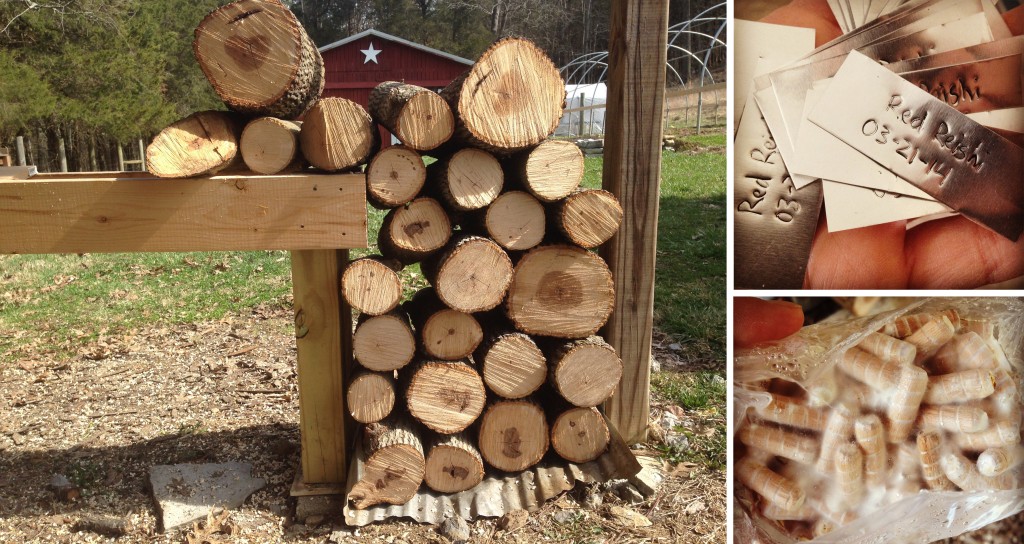
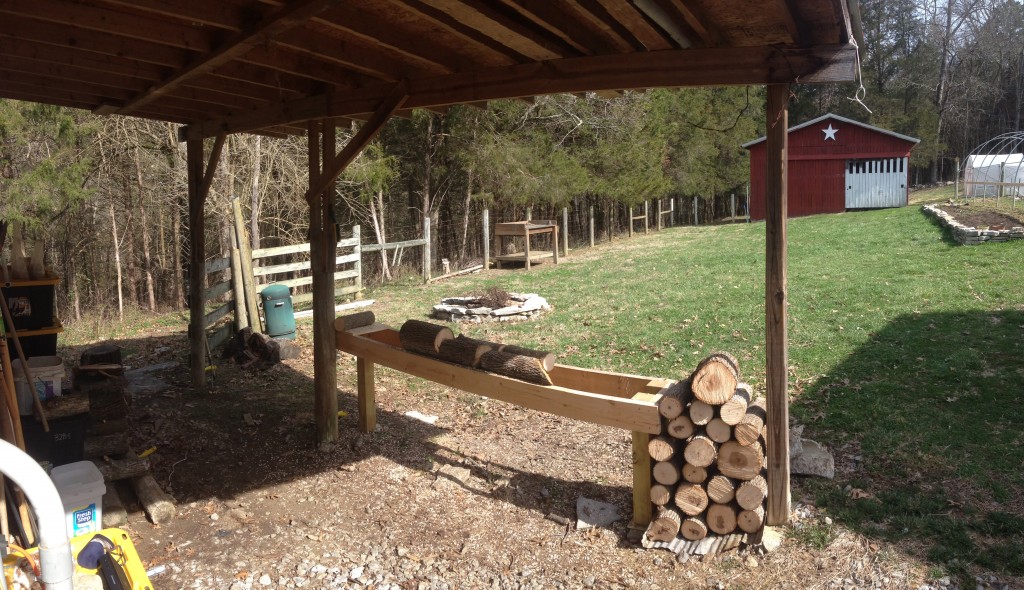
What better way to celebrate the first full day of Spring than inoculating some locally harvested oak with medicinal and edible mushrooms! These one foot Red Reishi, Shiitake and Turkey Tail mushroom logs from Half Hill Farm are available for local pick up ($22) or ordering online if you live outside the area. We accept most major credit cards. Call 615-469-7778 for pick up.

Each log comes with instructions on how to care for your log to ensure it produces for many years to come. You can expect between 50% – 90% of the log’s weight in mushrooms over the years depending on the variety and proper care.
We also offer spawn pegs in 100 count units to inoculate your own logs. These are $12 per unit (100 will inoculate roughly three 4 feet logs) and are created from our cultivated spawn in the farm’s Shroomery lab. 500 or more are $10 per unit. These also come with basic instructions. Check out our other products for the more advanced mushroom grower.

Workshops: We do Spring and Fall workshops for small groups up to four people by appointment. You’ll learn all the basics in a quiet rural farm setting 12 miles East of Murfreesboro, TN and take home the log you inoculate.

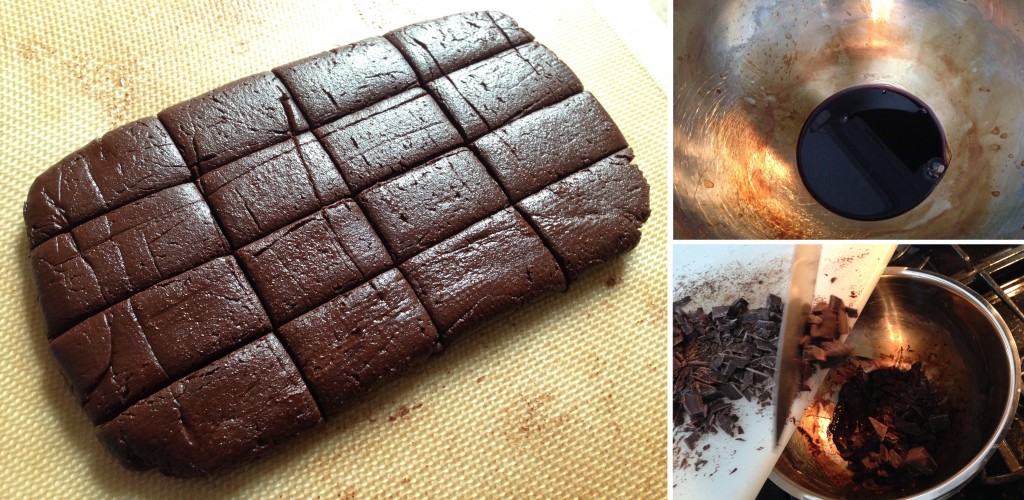
Medicinal Reishi mushroom extract infused chocolates

Test batch #2 of our medicinal Reishi mushroom extract infused semi-sweet chocolates came out excellent! The bitterness of the reduced dual extract (upper right) was completely complimentary to the chocolate, and we put a full daily dose of our Reishi mushroom extract in each serving size.

The next step is to make these with locally made chocolate and experiment with a couple other ingredients before packaging and making them available. We’re excited about sharing the many noted health benefits of Reishi mushrooms in a manageable serving of chocolate.

RECIPE: Red Reishi and Turkey Tail mushroom extracts


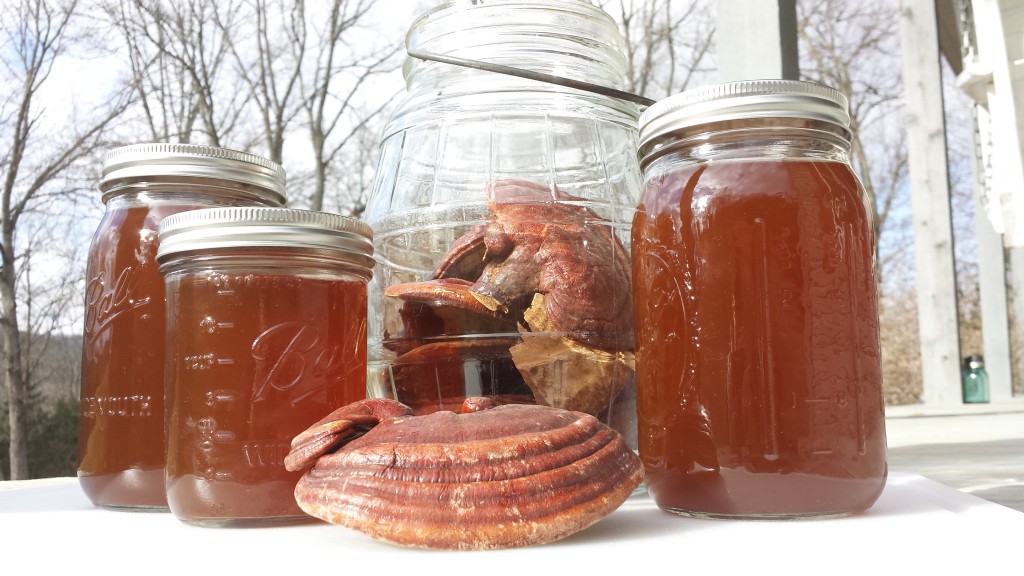
2 1/2 quarts of Red Reishi extract made at Half Hill Farm. Purchase our 1:1 dual extracts.

Red Reishi (Ganoderma lucidum) and Turkey Tail (Trametes Versicolor) mushrooms have been widely known for their medicinal value for centuries. Today, new studies reveal anti-cancer and anti-viral properties of high concentrations of polysaccharide K (PSK – an approved cancer drug) and lesser studied triterpenoids in both mushrooms. Last year, the FDA approved a $5 million study focusing on use of Turkey Tail PSK adjunctive treatment for stage four colon and lung cancers after promising results from an NIH study on breast cancer patients.

Many people mistake these two particular mushrooms as edible. Some websites actually prescribe so many grams of these dried mushrooms. The fact is, you cannot fully digest these medicinal mushrooms. The protein-bound polysaccharides can only be extracted through a several hour decoction process while triterpenoids typically are extracted over several days in an alcohol solution. You certainly won’t die eating these mushrooms, but the best way to realize the full health benefits is to create a single or dual extract.

SINGLE EXTRACT (DECOCTION): A typical decoction is a 1 oz of dry mushroom to 1 cup of water. A single decoction will extract water solubles such as polysaccaharide K (PSK) and beneficial polypeptides (PSP).

  • 1 oz dried Red Reishi or dried Turkey Tail mushrooms
  • 2 cups of distilled or purified water

Take 1 oz. of the mushroom of your choice and place them in 2 cups of water. If you are using Reishi you will need to chop it up as close to 1 inch squares as you can. You can break it up into small pieces. Boil for 3-4 hours, reduce to between a light boil and simmer after the first 30 minutes. At the end, remove the mushrooms. You will then want to filter out any pieces of mushrooms. Your two cups should have reduced to close to a cup, including whatever you can squeeze out of your mushrooms.

Jar and store in the fridge for about 1 week before discarding. Take 2-6 teaspoons twice daily. Reishi is very bitter and best in coffee or soup broths.

DUAL EXTRACT: To extract antifungal, antibacterial, antiviral triterpenoids and other medicinal compounds present in the fruit body of the mushrooms, you will need to take the mushrooms from the first process and place them in a high proof alcohol for a month and blend them using proofing formulas.

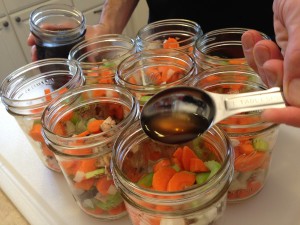
OTHER USES: Our first use for these extracts is 1 tablespoon in 16 oz. soup servings we are making for Vince’s mother who was recently diagnosed at age 72 with stage IV lung cancer.
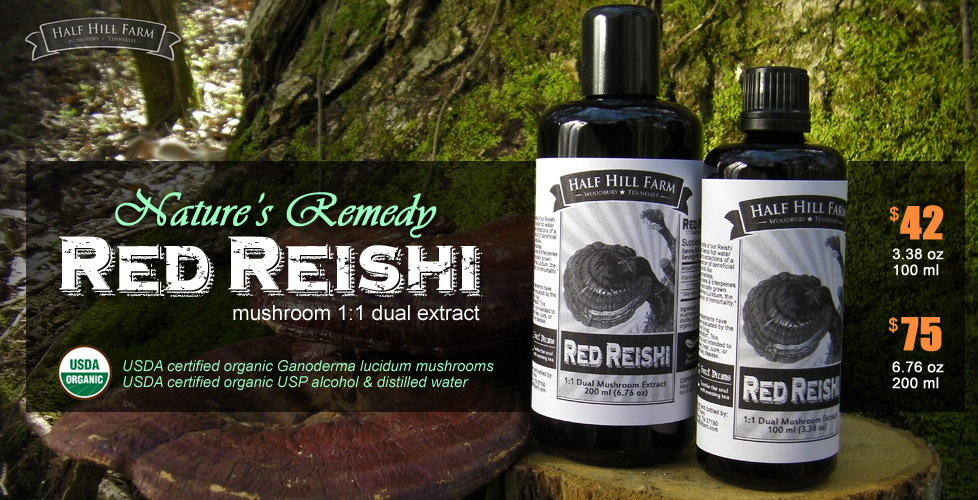
You can put 2 teaspoons of either extract in coffee and tea, or slightly more in soup, stews, or water you use to cook things like rice or even larger recipes calling for fluids.

WHERE TO GET: Growing your own medicinal mushrooms and following the steps above is the most affordable way to get extracts. We offer 1 foot logs inoculated with either mushrooms through our online store or larger logs for pick up at our farm in Woodbury, TN. This is the most economical way to grow your own. It takes several months for the logs to fruit and will produce seasonally for 3-5 years.

PURCHASE NOW: Our farm makes quality dual extracts of both Turkey Tail and Red Reishi mushrooms using distilled water and USDA certified organic alcohol (USP). Buy our Turkey Tail or Red Reishi extracts online.

Ganoderma Lucidum dual extract

Research on Turkey Tail (Trametes Versicolor) mushrooms

Research on Red Reishi (Ganoderma lucidum) mushrooms

DISCLAIMER: I am a farmer. I am not a doctor. Please consult your physician before using any of our products for health purposes. These statements have not been evaluated by the Food and Drug Administration. Our products are not intended to diagnose, treat, cure, or prevent any disease.

Saving seeds from last year’s crop

Seeds are pretty inexpensive, and you can find just about any variety of anything in the world online. But this year we selected seeds from some of our best organic plants that were left in the garden to fully mature and produce seeds well into Autumn.

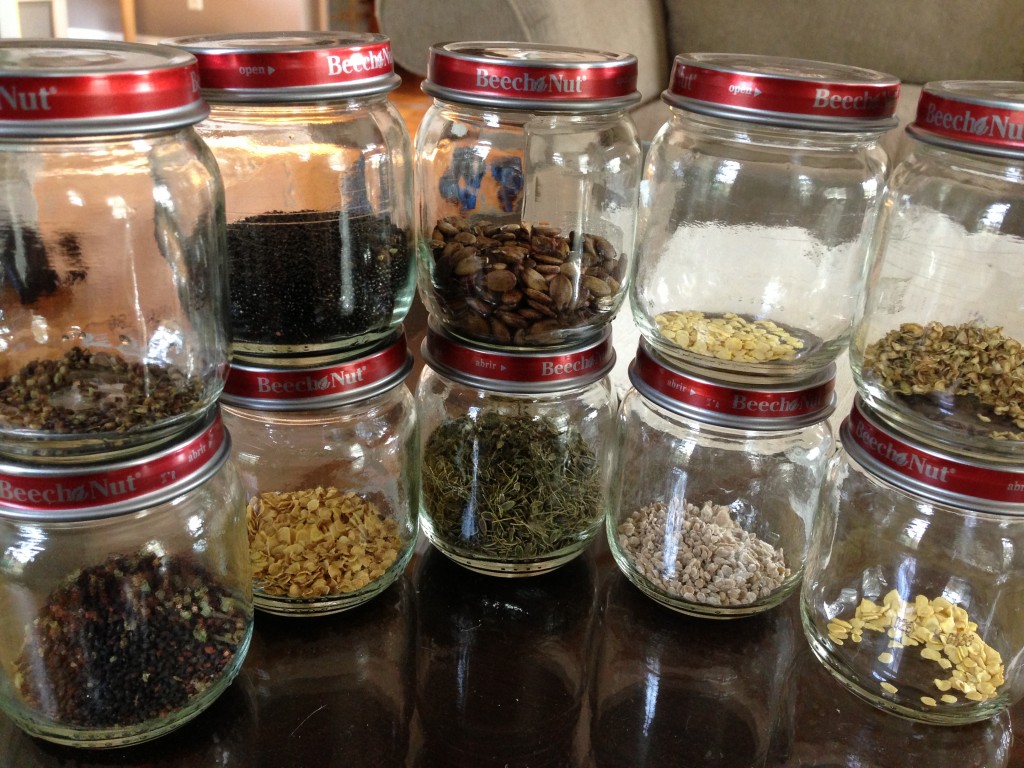
I take small brown paper bags, place the seeds in them, label them with the variety and date and allow them to fully dry for a couple weeks. Since warm temps and humidity can ruin your seeds, place them in small airtight jars and then store in a cool place like your fridge.

Fermenting Seed: This year I went a step further with my tomato seeds by fermenting them. This removes the seed’s gel which contains a germination inhibitor and other potential disease. The entire process take about 5 days, but the steps are pretty easy.


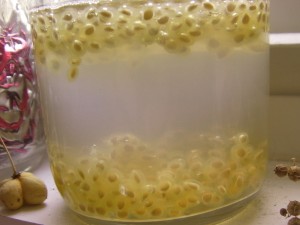
Take a 1/4 to 1/2 cup of filtered water and place the freshly harvested tomato seeds in the water and sit in a cupboard for 3-5 days. Over time, the seeds will float and then sink. A film or mold will develop over the top and the water will become a little cloudy. It will also smell really bad. This is normal.

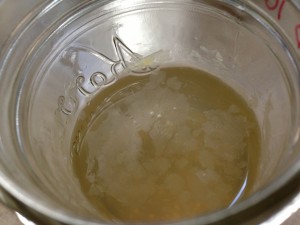
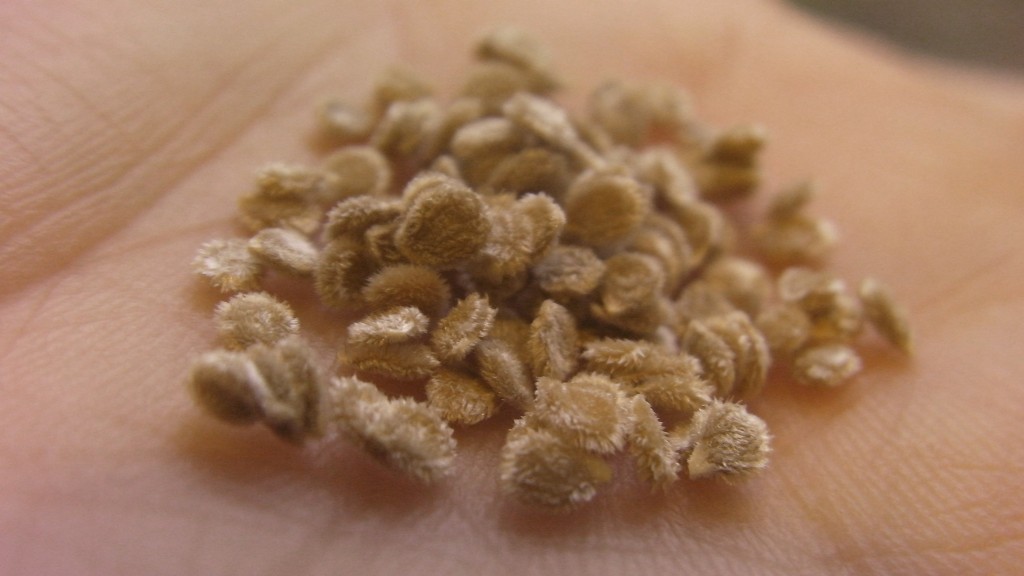
Close to the 5th day, or when all the seeds have sunk to the bottom, carefully remove the top film and then add water. What you are wanting to do is stir up the pulp and other sediment to slowly pour off until you can put the seeds in a sieve and rinse. Set them aside on a paper plate (seeds will stick to napkins) to dry. You should have fuzzy seeds ready to plant next year!

How composted yard waste reduces carbon emissions

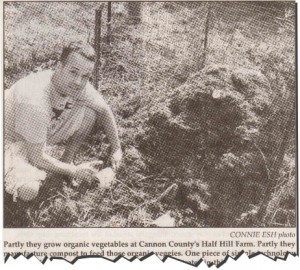
After reading our story on the front page of our local paper this week, I thought I should post some thoughts and links to supplement the section on compost making.

Making compost can be a tough subject for anyone to write about, but it’s one of the biggest steps I believe we can take toward reducing carbon emissions and understanding the role our own trees, plants and soil play in maintaining a natural balance.

The problem: According to a 2010 report by the EPA, the total global emissions of carbon since the Industrial Revolution are estimated at 270 F 30 Pg (Pg = petagram = 10*15 g = 1 billion ton) due to fossil fuel combustion and 136 F 55 Pg due to changes in land use and agriculture. That’s 400 metric tons of carbon. The potential of soil organic carbon sequestration through composting is roughly 1 F 0.3 Pg C/year, or 1/3 the annual increase in atmospheric CO2 per year (which is 3.3 Pg C/year).

A backyard solution: All of that simply means composting yard wastes could reduce the annual increases in carbon output over the next 20 years by 30%. That’s not through an act of Congress or demanding corporations do anything. That’s a 30% reduction made by each of us in our own backyard. Composting yard waste simply takes all the carbon that your trees and plants sucked out of the air and puts it back in the ground (sequester) where it increases the health of soil, reduces the need for chemical fertilizers, increases water conservation and reduces CO2 emissions. When we burn yard wastes or send food wastes to landfills, we release stored carbon and converted methane into the atmosphere and are part of the problem.

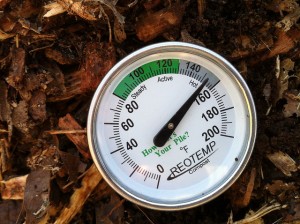
How to compost: Compost consists of four things: carbon, nitrogen, air and water. Carbon is pretty much anything brown or dry like leaves, dry grass clippings, chipped wood, or shredded newspaper. Nitrogen is manure, green grass clippings, or compostable kitchen wastes. According to the National Organic Program rules for compost, a compost pile should reach 130 degrees for three consecutive days and be turned a couple times during the process. The carbon to nitrogen (C:N) ratio should be from 25:1 – 40:1. If you don’t have enough oxygen, methane (23 times worse than CO2) is produced. Too much nitrogen and nitrous oxide (296 times worse than CO2) is produced. These two gases are created in landfills when we send our compostable inputs there instead of composting them at home.
To make a working compost pile, you need to make several alternating layers anywhere from 1-6 inches deep of either carbon or nitrogen layers. Each layer of the pile needs to be lightly watered as you make the pile. You can increase the air intake into the pile by building it in a fenced enclosure that exposes the sides, or place PVC pipe with holes in it on the ground before building the pile to allow air to circulate into the pile. After a couple days, you should see the temperature rise. When it begins to fall days or weeks later, turn the pile. After the second turning, leave the pile to cure for a month and then use the resulting rich organic compost as mulch or soil in flower beds and gardens as an alternative to commercial fertilizers.

UPDATE 05-23-14: A study released today by the Rodale Institute shows organic farm practices could overcompensate human carbon output through many required methods of sequestering carbon. Read the report here. Below is an excerpt from a Wall Street Journal post.

Citing 75 studies from peer-reviewed journals, including its own 33-year Farm Systems Trial, Rodale Institute concluded that if all cropland were converted to the regenerative model it would sequester 40% of annual CO2 emissions; changing global pastures to that model would add another 71%, effectively overcompensating for the world’s yearly carbon dioxide emissions.

RECIPE: harvest, brine and roast organic sunflower seeds

Sunflower seeds are a great byproduct from flowers we plant to attract bees and other pollinators to the garden. Here’s how we harvest, brine and roast them to enjoy all year.

When to harvest (3 large flowers yield 1 lbs. of seeds):
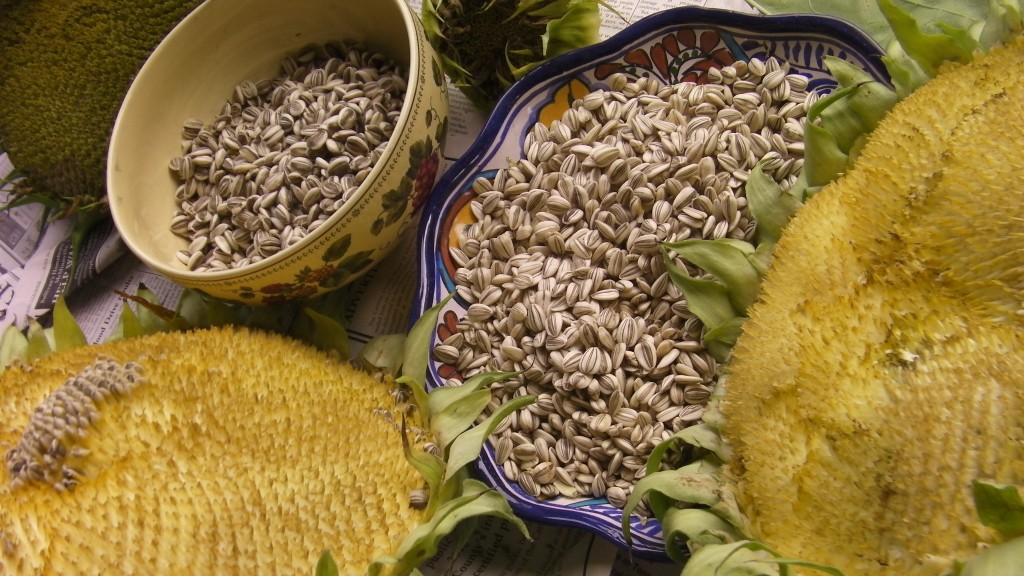
First, it’s important to harvest them at the right time. Too soon and you might not have fully developed seeds. Too late and you might lose a lot to birds and squirrels. You will want to cut the flower heads when the seeds are plump, have dark stripes and the green leaves protecting the pedals start to slightly brown. If birds and squirrels are eating them early, you can cover the heads with a mesh bag until you are ready to cut them. You will also want the seeds to be dry enough that they fall out when you rub them. You can leave the heads in a protected place to dry more if you need to. To remove the seeds, simply rub them into a bowl and then rinse out the excess plant material.

Brine and roast:

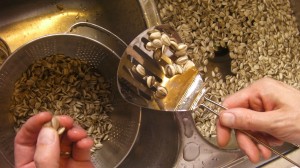
  • Place your seeds in a salt brine (about 2 cups of salt per gallon of water) and let the seeds soak for 12-24 hours. Put a plate or bowl on top of them to fully submerge floating seeds.
  • Drain and remove the seeds. Lay them out on napkins to remove excess moisture. Do not rinse or remove the brine in anyway.
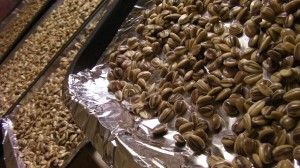
  • Evenly cover cookie sheets with the seeds and place in the oven at 300 degrees for 30-45 minutes until seeds are crisp. For more seasoning, you can lightly oil your seeds. I like mine very salty and add more salt to the brine step.

Old maps find their way home

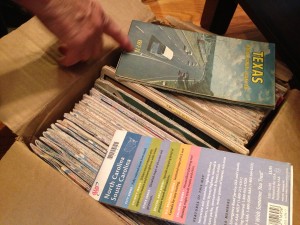
Elder Jones went places – Texas, Florida, Mississippi, Louisiana, California, Massachusetts, Utah, Ohio, Oklahoma, Arkansas, Kentucky. He’s an awesome concrete artist and a little bit of an admitted hoarder. He eventually found his way to Readyville, TN where he left a few things from his life travels, including this wonderful box of maps.

I love maps, and I especially love this very personal collection and how practical and necessary a resource it was to someone finding their way in the world. Elder eventually found his way in love and married.

When Nora Robinson bought his place on the Stones River across from the Readyville Mill, she thought enough to keep the maps and a few other things Elder had to leave behind for a new life. She brought the maps over yesterday and warned me that what we were about to do with them was as permanent as concrete.

The bee sanctuary project at Half Hill Farm

The idea of starting a bee sanctuary at Half Hill Farm is taking on a life of its own.

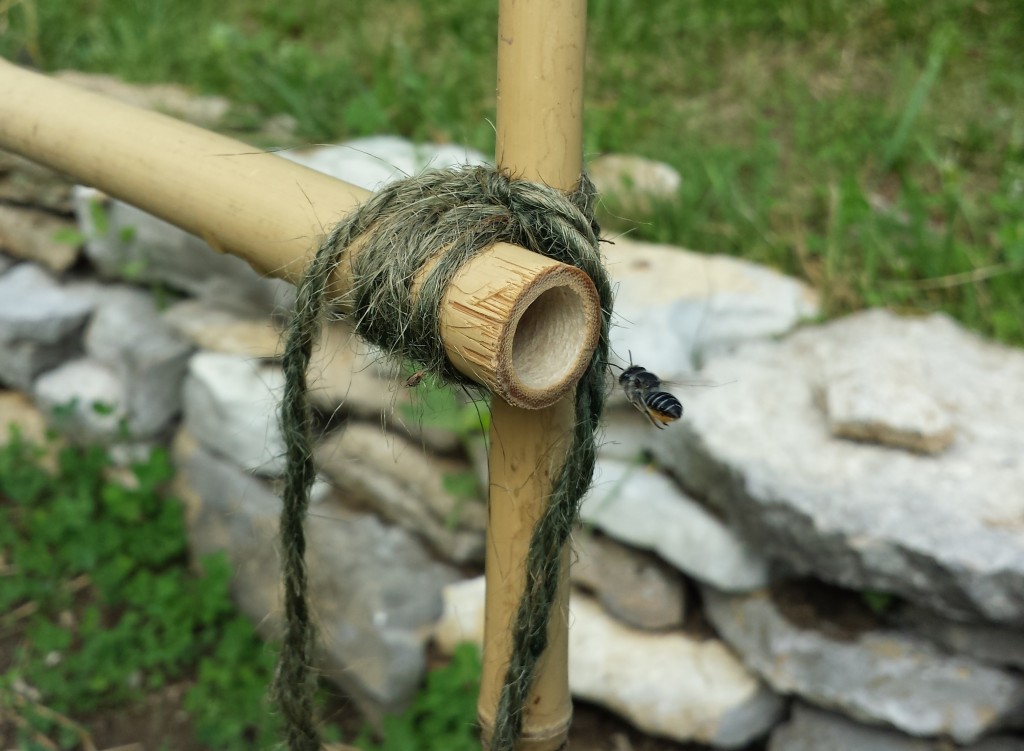
As we weeded the garden before the rain, I caught this alfalfa leafcutter bee (pictured above) weaving in an out of the tomatoes. This and a couple other solitary bees were pollinating the buds of the Giant Beef Steaks and had taken up residence in the bamboo supports. We’ve seen more solitary bees than honey bees this year.

Hosting solitary bees is an obvious first step to bee keeping. They aren’t social (so no swarm), rarely sting, don’t make honey, and are great pollinators. Due to colony collapse disorder of hives, some experts are suggesting people start hosting solitary bees.

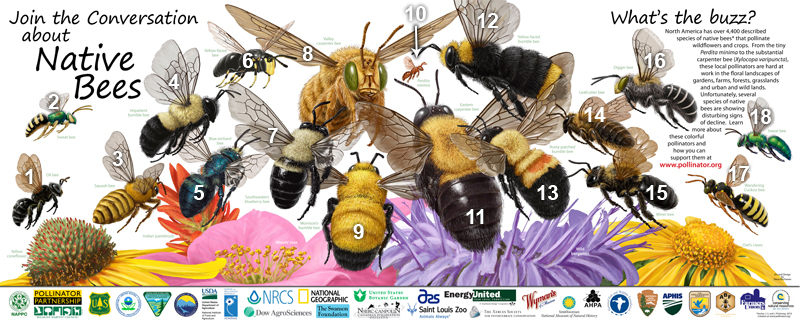
Discover the diversity of native bees:

1. Macropis nuda.
2. Agapostemon texanus.  US sweat bee
3. Peponapis pruinosa. Squash & gourd bees
4. Bombus impatiens. The Impatient Bumble Bee
5. Osmia lignaria.  The Blue Orchard Bee
6.  Hylaeus sp.
7.  Habropoda laboriosa. The Southeastern Blueberry Bee
8. Xylocopa varipuncta. The Valley Carpenter Bee
9. Bombus morrisoni.  Morisson’s bumble bee
10.  Perdita minima.
11. Xylocopa virginica. Eastern Carpenter Bee
12. Bombus vosnessenskii.
13. Bombus affinis.
14. Megachile sp. Leafcutter bees
15. Andrena cornelli. Miner bees
16. Anthophora  centriformis. Digger bees, or anthophorids
17.  Nomada sp. The Wandering Cuckoo Bee
18. Augochorella pomoniella. Sweat bees

The idea of creating a bee sanctuary at the farm was inspired by May Berenbaum, Department Chair of Entomology at the University of Illinois at Urbana-Champaign in this NPR story on bee deaths reaching a crisis point. Her suggestion: “Plant more flowers!”

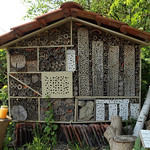
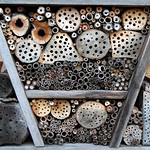
Judging from the number of bumbling mason bees we have, I’d also suggest building more barns. We have to have about 15 of them turning the barn wood to swiss cheese, but they happen to be our #1 pollinator for our cucumbers. As we continue to plan a small sanctuary for both hives and solitary bees, we’re going to test placing a few of these simple mason bee condos to see if it creates a more hospitable alternative.

If you would like to collaborate on the bee sanctuary project, let us know. In the meantime, check out some of these more elaborate solitary bee temples we hope to graduate to very soon!

Wildbienenhotel 110911_0397ErbersbergerForst_.jpg Insect hotel Wildbienenhaus

Read More:

Figure out how many gallons of rain fell on your barn

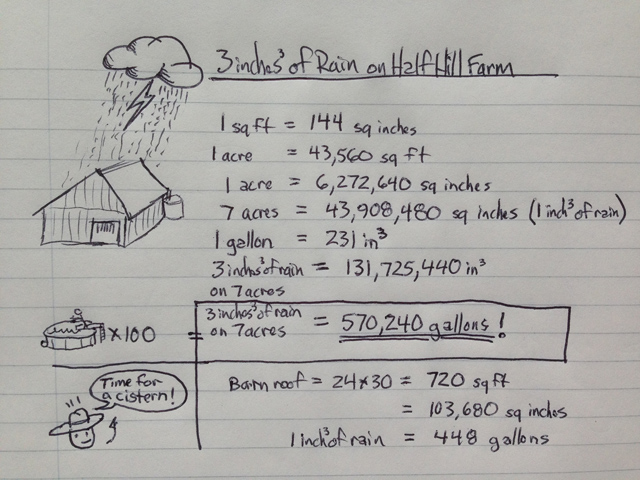
If you’ve ever wondered how many gallons of rain water fell on your roof or your property, here is some rain math I whipped up this morning to figure it out after a weekend of heavy rain:

( ______ square feet  X  144 square inches )  X   _____ inches of rain / 231 cubic inches per gallon  =  _______ gallons of rain!

Knowing how much rain you could collect from a barn or shed roof is important information to know, especially for a farm with irrigation needs. Just like the abundance of free solar energy, rain water is one of those amazing natural resources that literally hits us in the face while we barely even think about it.

Knowing what natural resources are freely available to you is the first step toward harnessing and managing those resources into more sustainable living. This rain math tells me what size cisterns and pumps I would need. It also shows me how much municipal water we can save and understanding our impact on the Stones River watershed.